When you look up at your roof in Poughkeepsie, you’re not just seeing shingles and flashing. You’re seeing a piece of history—an unbroken chain stretching back over generations. Replacing that roof isn’t simply about keeping the rain out. It’s about preserving the story of your home and respecting the architectural heartbeat of your neighborhood.
At Home Evolution Roofing, we’ve helped many homeowners—young families and older folks alike—navigate this process without confusion or stress. If you’re thinking about replacing your roof in Poughkeepsie’s historic district, this guide will walk you through everything you need to know in plain language.
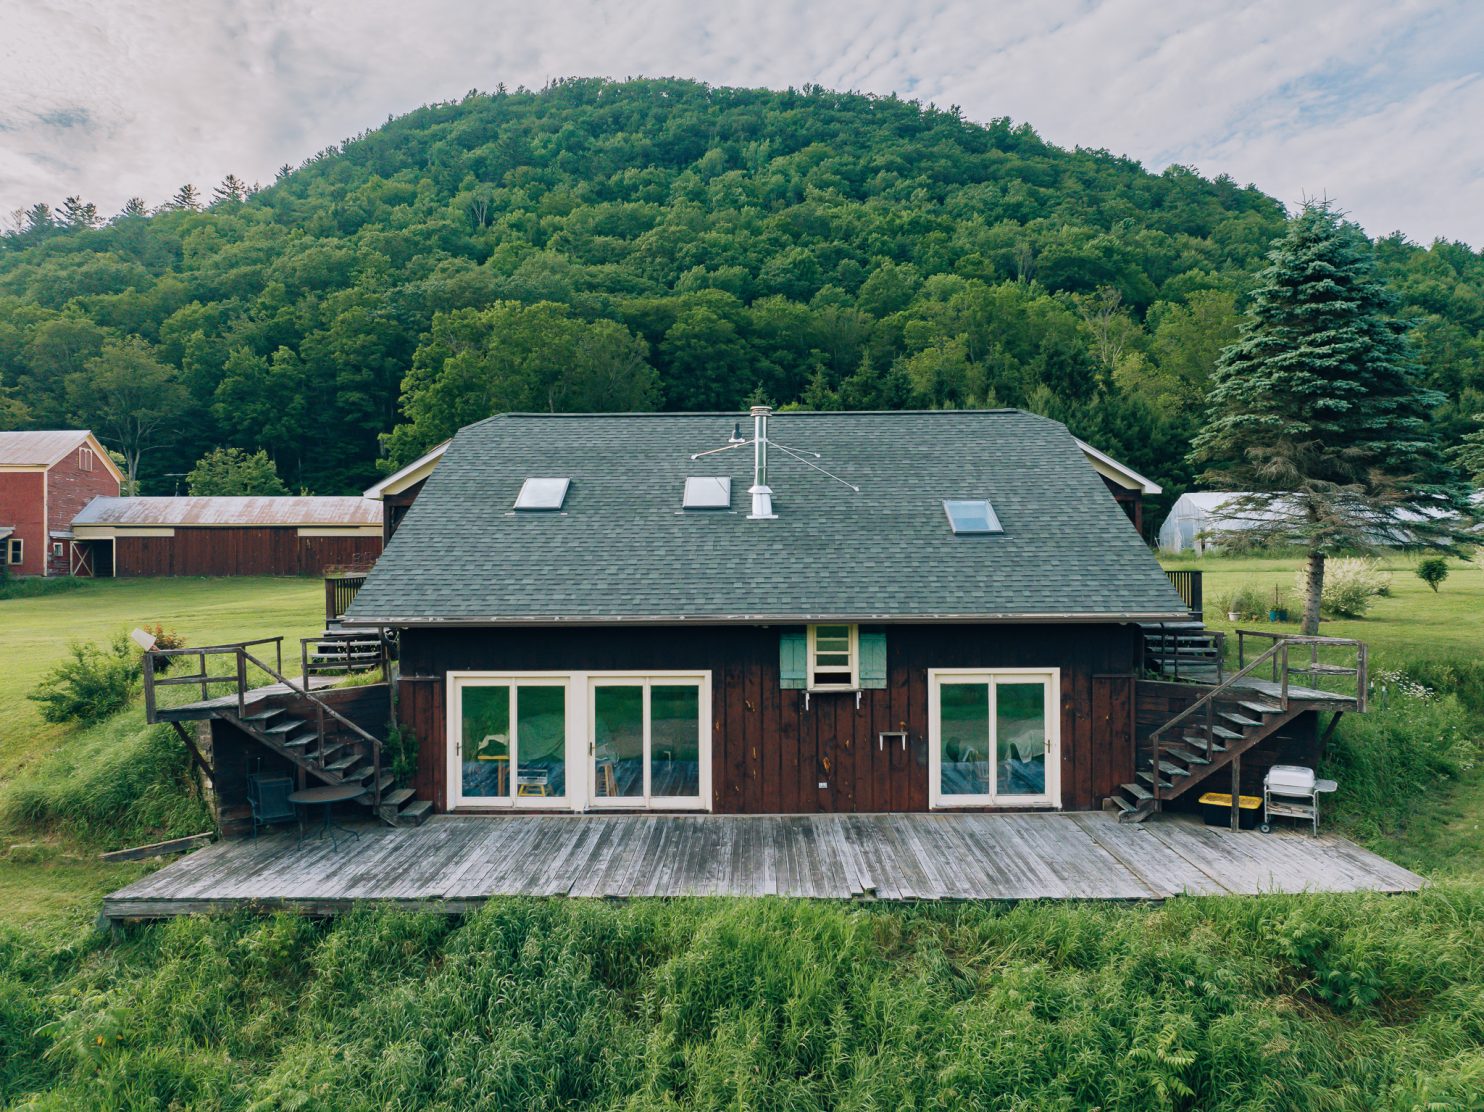
Why Roof Replacement Matters in Historic Districts
Historic homes have character, charm, and unique craftsmanship that newer houses often can’t match. But their roofs, like all things, eventually age past the point of repair. Leaks begin. Shingles curl and crumble. You might notice your energy bills rising or patches of mold creeping along the rafters.
When this happens, it’s time to act—carefully and thoughtfully. In a designated historic district, you must follow specific guidelines that protect the neighborhood’s appearance. These rules can feel intimidating, but you’re not alone. A trusted contractor can help you sort through them and keep your project on track.
Understanding the Rules and Guidelines
In Poughkeepsie, local historic preservation ordinances regulate how roofs on landmarked or contributing buildings can be replaced. Here are some of the essentials:
1. Materials Must Match the Original Style
You can’t simply swap out slate for asphalt or metal for wood without review. The goal is to maintain the historic look of the home. Sometimes modern materials can be approved if they mimic traditional appearances closely enough.
2. Color and Texture Are Important
Historic district committees care about the way your roof looks from the street. Color, shape, and texture should blend with the era of your house.
3. Visible Features Need Special Care
If your roof has dormers, decorative cornices, or unique chimneys, they must be preserved or replicated as faithfully as possible.
4. Permits Are Mandatory
You’ll need to submit plans for review and approval before you begin. This step can take time, so start early.
5. Professional Installation Is Expected
Poor workmanship not only jeopardizes the structure but also can trigger violations. Choose a contractor with experience in historic restorations.
How to Get Started Without Overwhelm
If you’re reading this and thinking, “It sounds complicated,” you’re not wrong. But with the right help, it doesn’t have to be stressful.
Step 1: Schedule a Roof Inspection
An experienced roofing estimator from Home Evolution Roofing can assess the condition of your existing roof. We look for leaks, damaged flashing, rot, and other issues that signal it’s time for replacement.
Step 2: Gather Historical Records
Try to find any documentation you have—old photos, building plans, or previous renovation permits. These help you prove the original roof style.
Step 3: Consult the Local Historic Preservation Commission
Before you pick materials or colors, check in with the commission. They can provide guidelines and sometimes recommend products that have been approved in the past.
Step 4: Choose Authentic Materials and Colors
Our team can guide you through options that satisfy preservation requirements while delivering modern performance. You don’t have to sacrifice durability to stay true to history.
Step 5: Apply for a Permit
We help you compile the necessary documents, including photographs, material samples, and detailed work plans.
Step 6: Schedule Your Project
Once you’re approved, you can set a timeline that suits your household and weather conditions.
Common Materials for Historic Roofs
Homeowners in Poughkeepsie’s historic areas often ask, “What materials can I actually use?” Here are the most common:
Slate
Elegant and long-lasting, slate was often used in late 19th and early 20th-century homes. Today, you can find natural and synthetic slate options. Synthetic versions can be lighter and more affordable while still maintaining the same appearance.
Wood Shingles or Shakes
Many historic houses used cedar or other wood shingles. These are beautiful but require regular upkeep. Fire-retardant and treated versions are available to improve safety and longevity.
Standing Seam Metal
Metal roofs can be appropriate for certain historic styles, especially farmhouses and Victorian-era buildings. Modern metal panels can be powder-coated to resemble older finishes.
Architectural Asphalt Shingles
If approved, high-definition asphalt shingles can mimic wood or slate at a lower cost. In many cases, the preservation board will only allow them if they are nearly indistinguishable from traditional materials.
Financial Considerations
It’s no secret: historic roof replacement can cost more than standard re-roofing. But remember—you’re investing in the future of your home. A historically appropriate roof protects property value and honors your neighborhood’s character.
Factors That Influence Cost:
-
-
Size and slope of the roof
-
Materials selected
-
Condition of underlying wood decking
-
Custom fabrication (e.g., copper flashing or finials)
-
Permit and review fees
-
At Home Evolution Roofing, we provide clear estimates and financing options to make these projects manageable. Our estimators take time to explain every line item, so you’re never left guessing.
How We Help Homeowners Feel Comfortable
We know that older homeowners sometimes feel anxious about big construction projects. You deserve respect, clear communication, and patient guidance. When you work with us, you can expect:
-
-
Courteous professionals who show up on time
-
Detailed explanations of every step
-
Help with paperwork and permits
-
Careful protection of your landscaping and property
-
Thorough cleanup when the job is done
-
Ongoing support if you have questions later
-
You can call us anytime, and you will always reach a real person who cares.
What Happens During Installation
Once permits are secured and materials selected, here is the general flow of the project:
-
-
Preparation and Protection
We cover walkways, porches, and flower beds. We also install safety barriers as needed. -
Tear-Off
The old roof is removed carefully, section by section, to avoid damaging the structure. -
Inspection of Decking
We check the wood decking underneath for rot or damage and replace as needed. -
Installation of Underlayment and Flashing
This critical layer protects against water intrusion. -
Installation of Shingles, Slate, or Metal Panels
Each material has its own technique. Our crews are trained in historic best practices. -
Final Cleanup and Inspection
We sweep the area with magnets to collect stray nails and remove debris. -
Walkthrough With You
Before we consider the job complete, we review the work together and make sure you’re satisfied.
-
A Final Word
Replacing a roof on a historic home isn’t just maintenance—it’s stewardship. You are caring for something precious, something that will outlast you and become a gift to the next generation.
At Home Evolution Roofing, we’re honored to stand with you in this responsibility. If you have questions or simply want to talk through your concerns, please call. We’re here to help you feel confident and informed.